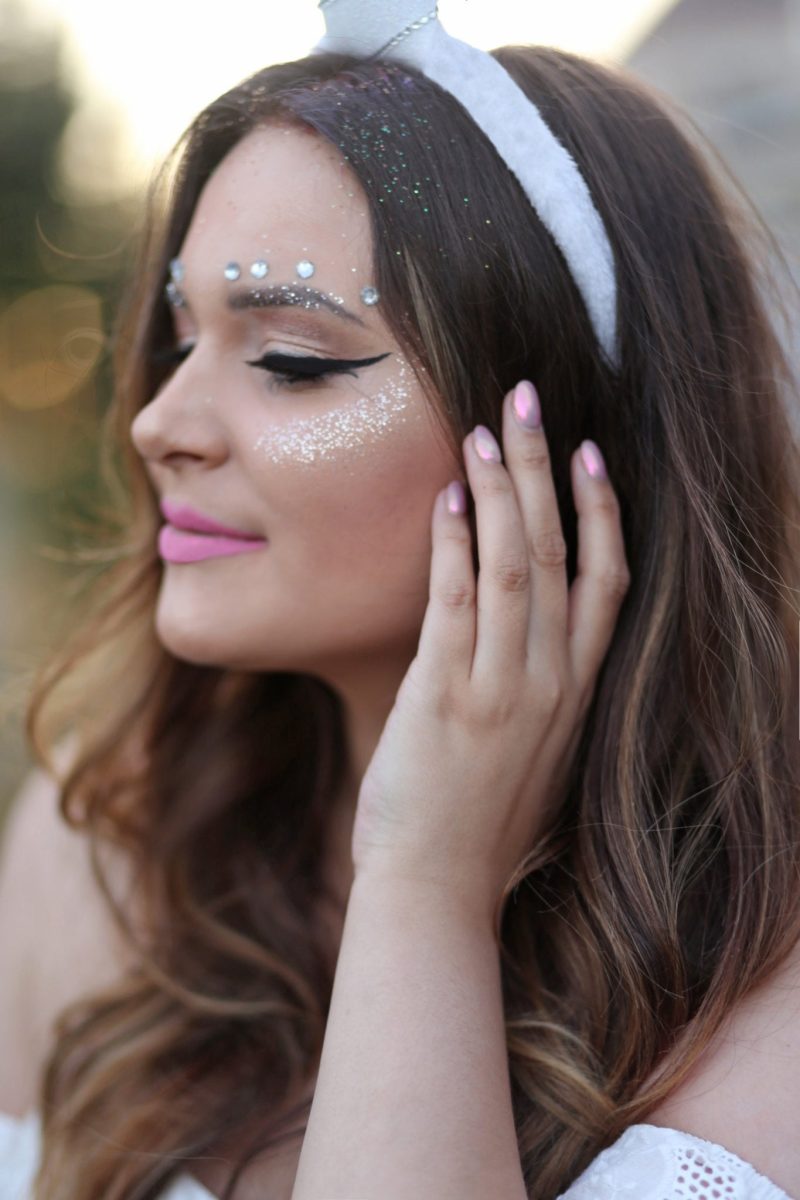
Perfectly Peachy Smokey Eye Makeup Tutorial

Shop My Makeup Look:
Happy Monday my loves! Excuse me, wasn’t it just Friday night?! This weekend seriously flew by for me! It’s hard to believe 1) it’s Monday 2) the Bachelor airs in an hour. AN HOUR! Y’all, as much as I don’t like Nick…I am 100% addicted (as always!) to the series. Every night I tune in with my mom! In case you’re wondering, no she doesn’t like Nick either. She’s wondering whatever happened to Luke and Chase (seriously though, why are we not watching either of them?!).
As you’ve probably noticed, I’ve been on a bit of an airbrush makeup kit as of late. You’ll recall I introduced the basic how-to’s of airbrush makeup in this post. I also discussed how to contour using airbrush makeup here. Today I wanted to share how to achieve the perfect everyday muted smokey eye (with peach undertones!) using airbrush eyeshadow. I’ll admit, before I was introduced to Luminess Air I had no idea airbrush eyeshadow existed! Well it does and y’all, it’s kind of amazing. First, I’ll share how to use airbrush eyeshadow, then give you a full tutorial on how to create this great everyday muted smokey eye!
The Good Stuff for Your Peachy Smokey Eye:
For this look, I used Luminess Air eyeshadows. I adore these eyeshadows because they are highly pigmented (a little goes a long way!) and super affordable. Don’t be fooled by the size of the bottle! You only needs a few drops of each shade per use. To begin, I placed three drops of shade 34 (peach airbrush shadow) into my Luminess Legend Airbrush System. I then began applying the eyeshadow in light, small strokes on my lid away from my tear duct. Make sure you keep the eye you’re applying to SHUT the entire time! You don’t want to get any product in your eye. After letting sit for 3-4 seconds – it is completely dry! Next, I applied the shade 411 on the outer corners of my eye to create dimension. Finally, I applied shade 43 into the crease of my eye and along the lower lash line. When applying to my lower lash line, I applied the product with my fingers, to ensure I wouldn’t get the product in my eyes! The product applies surprisingly well with your fingertips! As for creasing? There was none! I made sure to check in 6 hours after application and the shadow stayed put! I have oily skin, so I was extremely impressed by its durability! If you’d rather stick with traditional eyeshadow, I’d recommend this palette. I finished off the look by adding a winged liner, false lashes and mascara! See below for further instruction.
Click here for my favorite peach toned eyeshadow palette


I love this warm peachy look as it can be dressed up or down and worn to any occasion. The peach undertones will give your skin a healthy glow – and is the perfect look for spring! Now I want to know if you’ve used airbrush makeup and your experience with it!
Want more? Check out these makeup looks:
Natural Summer Makeup Look

For those days you want a barely there, subtle makeup look I’ve got you covered!
*Click here for step-by-step makeup tutorial*
Bronze Smokey Eye

Summer is for tans, obvi. For a bronzed diva look, check out this bronze smokey eye look!
*Click here for step-by-step makeup tutorial*
Perfectly Peachy Smokey Eye

If you’re looking for a subtle glow, this peachy smokey eye makeup look is for you!
*Click here for step-by-step makeup tutorial*
Mermaid Inspired Makeup Look

If you’re in the mood to play around with color, you’ll love this fun mermaid inspired look!
*Click here for step-by-step makeup tutorial*
Summer Night Purple Smokey Eye

Summer nights are to build memories! Rock this super cute (and sassy!) purple smokey eye for a fun night out.
*Click here for makeup look details*
*Thank you to Luminess Air for sponsoring today’s post. As usual, all opinions are my own.


