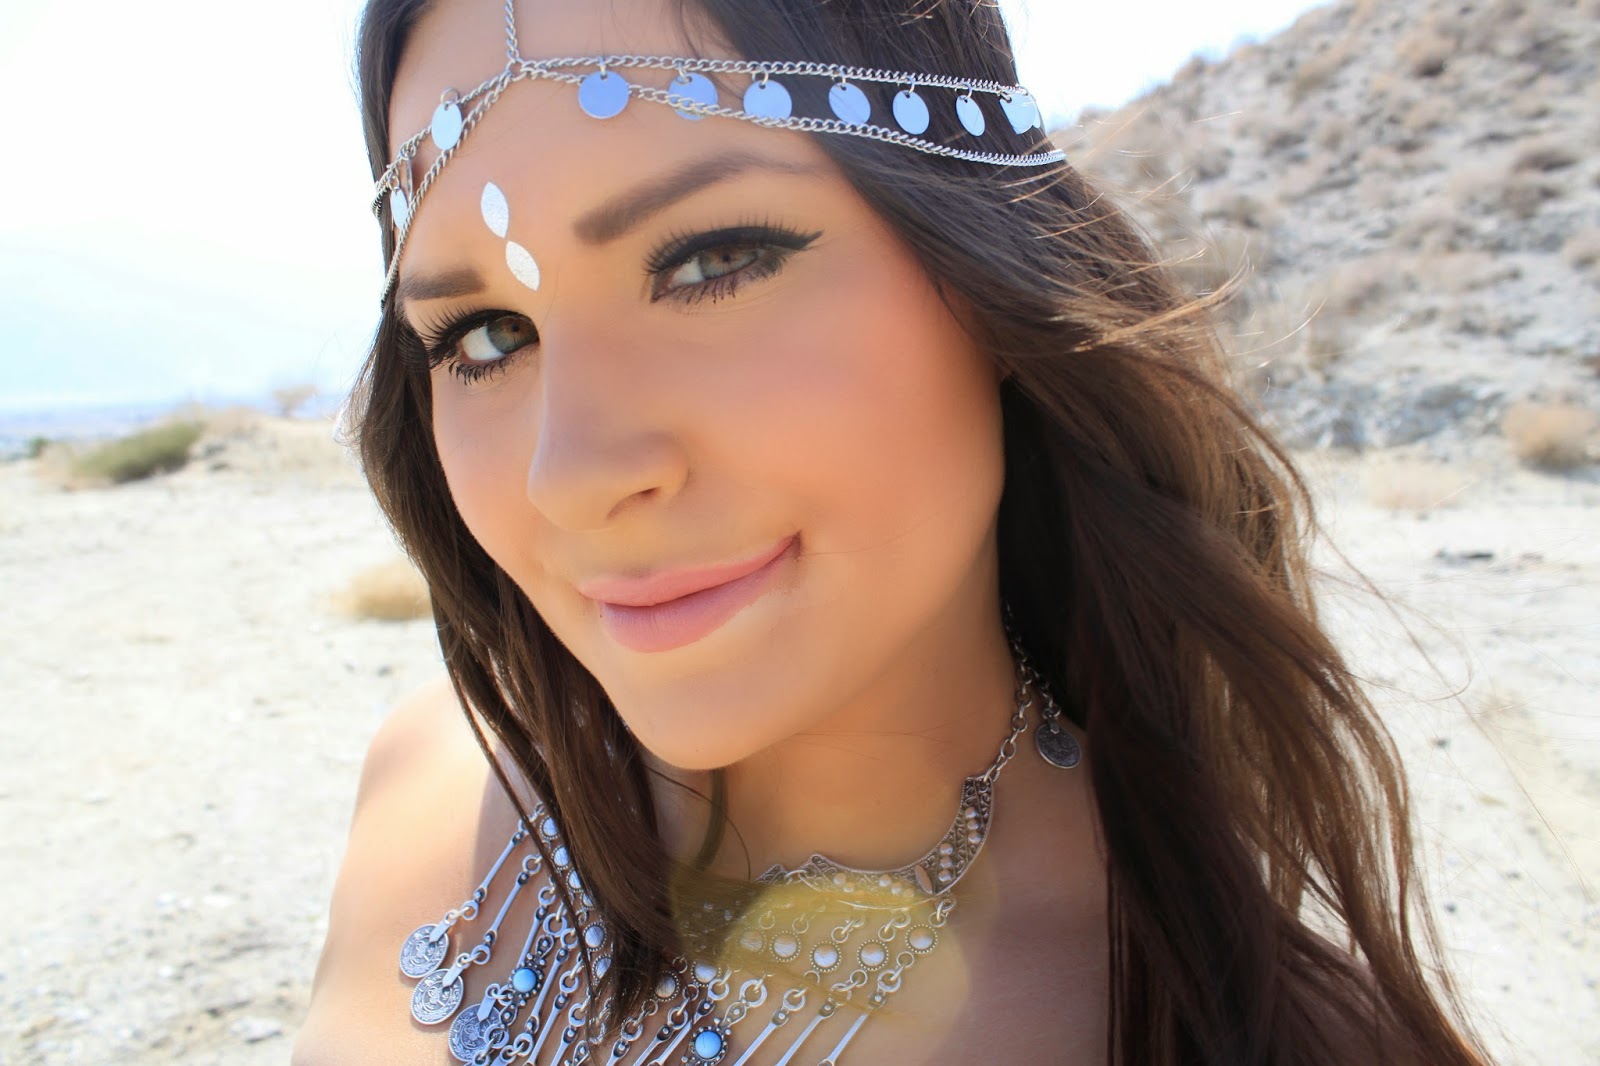
Coachella Inspired Makeup Tutorial

I had the absolute privilege to attend Coachella in California with Meghan last weekend. Coachella was on both of our bucket lists and we couldn’t wait to channel our inner boho goddess. With a pretty penny spent on flights and accommodations, we were forced to get creative with our beauty looks. This inspired me to create an affordable Coachella inspired makeup tutorial – complete with my new favourite drugstore mascara and foundation.
Step One: Foundation + Concealer
To start off this look, select a foundation that will last in the heat. Trust me, you don’t want to be that girl with her foundation melting off her face. I would recommend a foundation with a matte finish and/or meant for oily skin. At Coachella, I wore Rimmel’s Matte Finish Foundation. Not only does this foundation apply super smooth, it also lasted throughout the 99 degree desert heat. To apply: dot the foundation around your face with your finger. Then, using a foundation brush, blend the foundation on your face to even out your skin tone. Don’t forget to extend your foundation onto your neck for a natural look. Next, apply concealer under your eyes and on problem spots such as blemishes. For this look, I used NYX Cosmetics High Definition Concealer!
Step Two: Contouring + Highlighting
Contouring and highlighting can be tricky and time consuming – but well worth the effort. Using an angled brush, apply bronzer directly underneath your cheekbones for an instant facelift. I used NYX Matte Bronzer for a gentle glow! Next, using an angled brush (I also use an eye shadow brush) apply bronzer to the sides of your nose, starting just below your eyebrows to make your nose appear thinner. For those with a circular face like mine, apply bronzer just below your jawline and on the top of your forehead into your hairline to slim your face, making it appear longer and thinner. Next, take an angled brush and apply highlighter directly on your cheekbones, starting from your hairline to your nose. This will help to define your cheekbones. Using the same brush, apply highlighter to the bridge of your nose, starting from between your eyebrows. Finally, apply highlighter on the center of your forehead and on the center of your chin. For this look, I used the highlight in the Physician’s Formula Bronze Booster Highlight and Contour Palette.
Step Three: Power Brows
For this look, the bigger and bolder the eyebrows, the better! Think Cara Delevingne eyebrows. Using an eyebrow pencil apply light strokes to your eyebrows to fill them in and make them more visible. If you have naturally thin eyebrows, extend the width of your eyebrows using an eyebrow brush or eye shadow pigment that matches the shade of your eyebrows. For this look, I used the NYX Auto Eyebrow Pencil.
Step Four: Eyeliner + Mascara
Who doesn’t love a great cat-eye? Using a liquid black eyeliner, apply directly onto your lash line starting at your waterline. Once applied across your lash line, extend the wing with a steady hand matching up with your lower lash line. I used NYX’s Matte Liquid Liner (a longtime favorite of mine!). Complete the look with a lengthening and volumizing mascara. In keeping with the drugstore makeup theme, I would recommend Rimmel’s Retro Glam Mascara. This mascara lengthens my lashes with little clumps, and almost no fallout. Apply 2-3 coats of mascara for maximum volume.
Step Five: Lipstick
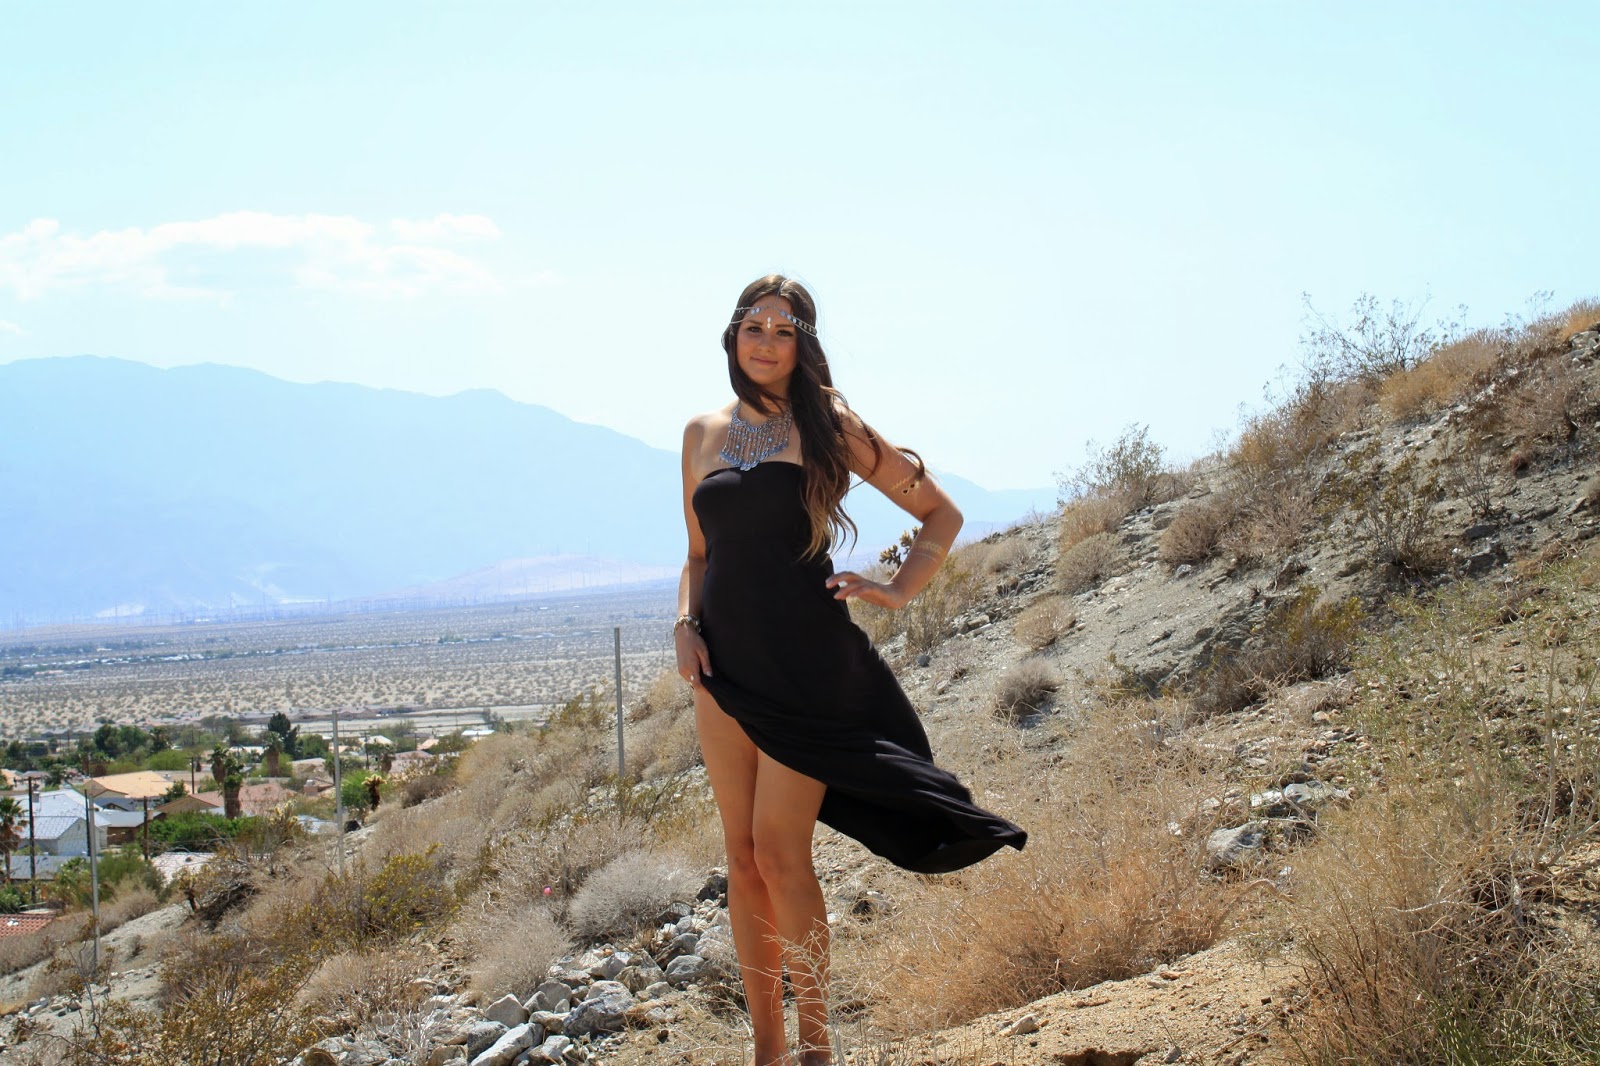
The Final Look for Coachella:
More Coachella Content
15 Things I Wish I Had Known Before Attending Coachella
My Coachella Experience (Event Recap)
Unseen Moments From Coachella (Event Recap #2)
Coachella Inspired Makeup Tutorial
Coachella Inspired Outfits With Target


